Setting Up Node.js on Mac for Cordova/Phonegap Development
I recently found myself exploring new Cordova/Phonegap options within Visual Studio 2015. As part of the setup process, I needed to install Node.js. This blog post will guide you through the installation process and set the stage for the next tutorial, where we'll get a Hybrid/JavaScript application running on the iOS simulator.
Installing Node.js with Homebrew
- Open Terminal from the Finder application.
- Install Homebrew using the following command:
ruby -e "$(curl -fsSL https://raw.githubusercontent.com/Homebrew/install/master/install)"

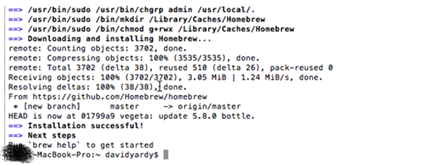
- Once Homebrew is installed, you can easily get Node.js by typing the following command in the Terminal window:
brew install node - Verify Your Node.js Installation
For information about running Node.js, you can check out this How To Node resource: http://howtonode.org/hello-node